Render Multiple Cameras With Timeline Markers
Use Blender camera binding markers so RenderGod switches cameras during one render job, giving you every shot of a sequence in a single frame range.
Timeline markers bound to cameras let one RenderGod job render several camera angles. Blender switches to the bound camera at each marker, so a single frame range produces a cut sequence, the same as playback in the Blender viewport.
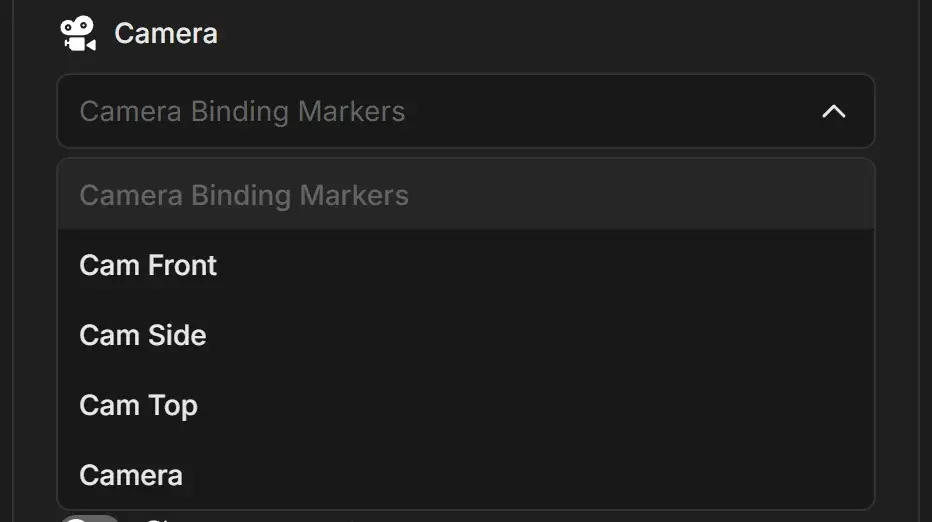
Set up camera markers in Blender
In Blender's Timeline, go to the frame where a shot should start and add a marker with M.
Select the camera for that shot in the viewport, keep the marker selected and press Ctrl + B to bind the camera to the marker.
Repeat for every shot, then save the .blend file.
Render with the markers in RenderGod
- Import the
.blendfile. See Import .blend files. - Select the job. RenderGod detects the bound markers and sets Camera to Camera Binding Markers automatically.
- Check From Frame and To Frame cover all the shots you want.
- Start the queue.
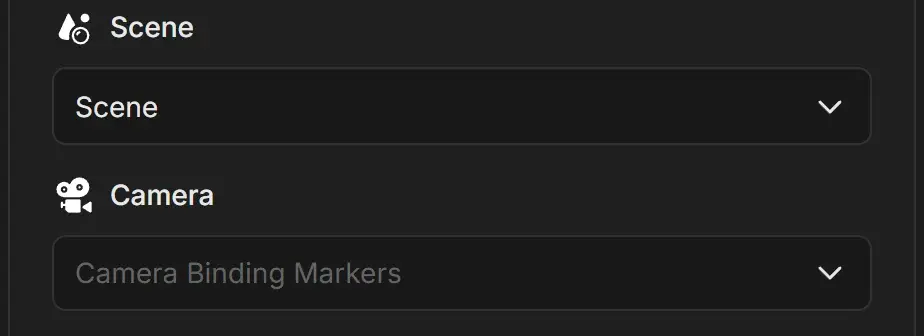
The job card in the queue shows Camera Binding Markers instead of a camera name.
Switch between markers and a single camera
| Camera setting | Result |
|---|---|
| Camera Binding Markers | Cameras switch at each marker during the render |
| Any camera name | That camera is used for every frame. The markers are ignored for this job. |
Picking a single camera is handy for rendering one angle across the whole range, for example a reference pass. Switch back to Camera Binding Markers at any time.
Things to know
- Camera Binding Markers only appears in the dropdown when the scene has at least one marker with a bound camera. Markers without a camera do not count.
- Markers belong to a scene. If you switch Scene, RenderGod checks the new scene for bound markers again.
- If you add markers in Blender after importing, reload the job so RenderGod sees them. See Reload settings after changing the .blend file.
- All shots are written as one continuous image sequence into the job's output folder.