Render Every Camera Angle of a Blender Scene
Render every camera in a Blender scene from RenderGod, either as one job that switches cameras at timeline markers or as one job per camera with its own folder.
Render every camera angle of a Blender scene without opening the file once per camera. RenderGod gives you two ways to do it, depending on whether your cameras are shots in a sequence or alternative angles of the same action.
| You want | Use | Result |
|---|---|---|
| A cut sequence: camera A for frames 1 to 30, camera B for 31 to 60 | Camera Binding Markers | One job, cameras switch during the frame range |
| The full animation from every camera | Duplicate for Every... > All Cameras | One job per camera, each renders the whole range |
The examples use C:\Projects\Cube Studio\Cube Camera Shots.blend, with the cameras Cam Front, Cam Side and Cam Top.
Option 1: Switch cameras with timeline markers
Bind cameras to markers in Blender
In Blender's timeline, add a marker where each shot starts (M), select the camera for that shot, select the marker and press Ctrl + B. Save the file.
Import the file into RenderGod
Drag the .blend onto RenderGod or use Send to RenderGod in Blender. If the file has bound markers, Camera is set to Camera Binding Markers automatically.
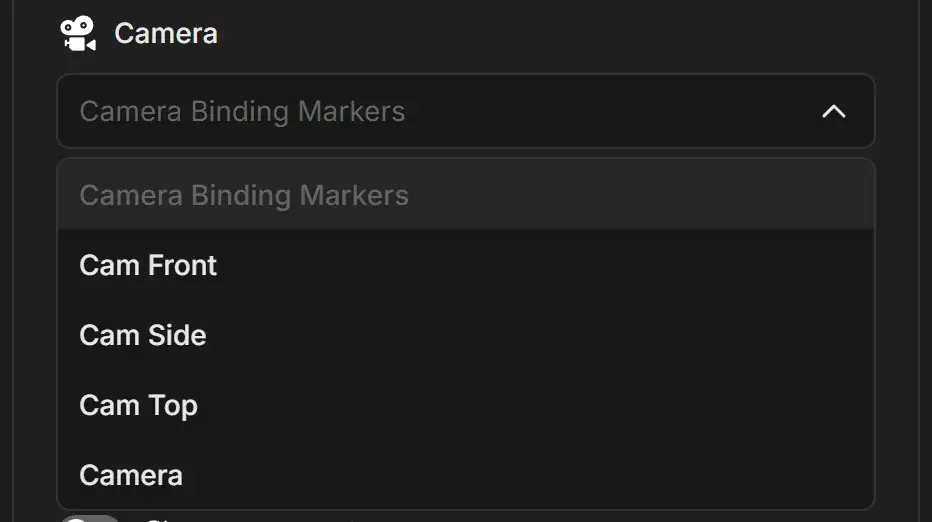
Check the job and start
The job card shows a Camera Binding Markers badge. Make sure the frame range covers every shot, then click Start.
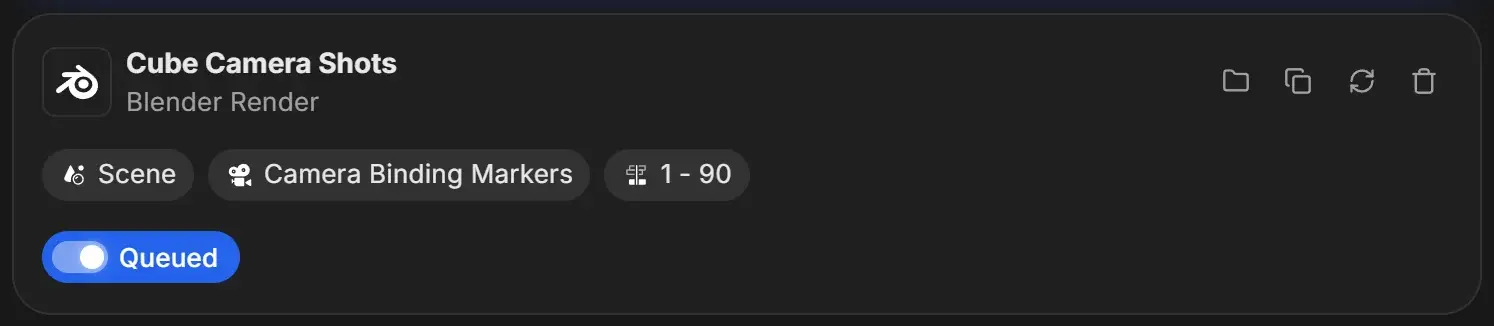
Choosing a specific camera in the dropdown ignores the markers and renders the whole range from that camera. See Render multiple cameras with timeline markers.
Option 2: One job per camera
Import the file
Add the .blend to the queue as usual.
Duplicate the job for every camera
Right-click the job card and choose Duplicate for Every... > All Cameras. You can also open it from the Duplicate button on the card.
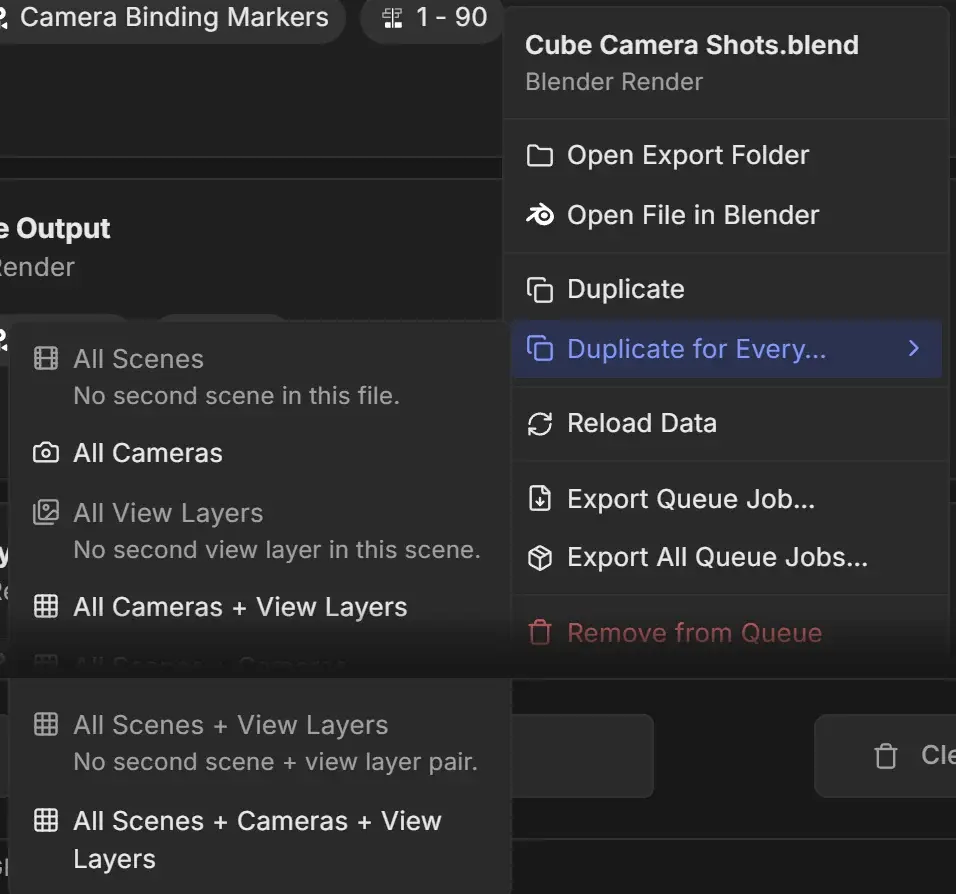
RenderGod creates one job per camera and removes the original job. The original's settings stay in Settings > History if you need them back.
Check the new jobs and start
Each new job has its own Camera set. Change frame ranges or samples per camera if you want, then click Start.
With the default Organized output template, the camera name is part of the folder path, so each camera's frames land in their own folder. See Choose where renders are saved.