Choose the Camera for a Blender Render
Pick which camera a RenderGod job renders through, without changing the active camera in your .blend file, and render other angles from duplicated jobs.
The Camera dropdown chooses the camera a job renders through. You can render from any camera in the scene without opening Blender or changing the active camera saved in your .blend file.
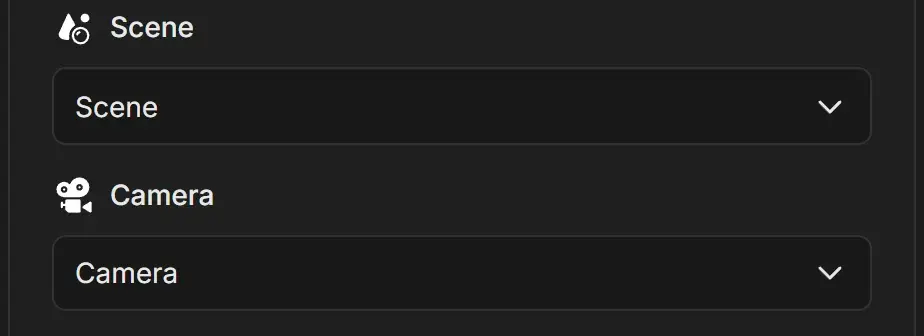
Pick a camera
- Select the job in the queue.
- Open the Camera dropdown under Scene.
- Choose a camera. The list contains every camera object in the selected scene.
A new job starts with the scene's active camera. If the scene has timeline markers bound to cameras, it starts with Camera Binding Markers instead.
Camera options
| Option | What it renders | When to use it |
|---|---|---|
| A camera name | Every frame through that camera. Any camera markers on the timeline are ignored. | Single-angle shots, stills, turntables |
| Camera Binding Markers | Blender switches cameras at each bound timeline marker, as it does in the viewport | Edits with several angles in one frame range |
Camera Binding Markers is shown in grey italics at the top of the list, and only when the scene has at least one marker with a bound camera. See Render multiple cameras with timeline markers.
Render every camera as its own job
To get a separate sequence for each camera:
- Set up the job with the first camera.
- Duplicate the job once per extra camera.
- On each copy, choose a different camera.
With the Organized or Versioned output template, each camera's frames go into their own Camera folder. See Render every camera angle in one job for the marker-based alternative.
Things to know
- Changing the camera applies only to this render. The
.blendfile keeps its saved active camera. - The camera list belongs to the selected scene. If you change Scene, the camera resets to that scene's default.
- After a job has rendered, changing its camera does not move its existing output folder.