Render Your First Blender File With RenderGod
Step by step walkthrough to render your first Blender file in RenderGod: import the .blend, check settings, watch progress and open your rendered frames.
This walkthrough takes you from an empty queue to rendered frames on disk. You import a .blend file, check its render settings, start the queue, watch the render and open the folder with your frames. It takes a few minutes, not counting the render time.
Before you start
- RenderGod is installed and you are signed in.
- Blender 4.2 or newer is installed. RenderGod usually finds it by itself; see Find your Blender installations.
- Your
.blendfile has a camera and is saved.
1. Import the .blend file
In the empty queue, click Import Blender. If the queue already has jobs, click Import in the toolbar and choose Blender.
Select your .blend file and confirm. You can pick several files at once; each becomes its own job.
Wait while the new job card loads. RenderGod reads the scenes, cameras, frame range and render settings from the file. When it is ready, the card shows Queued.
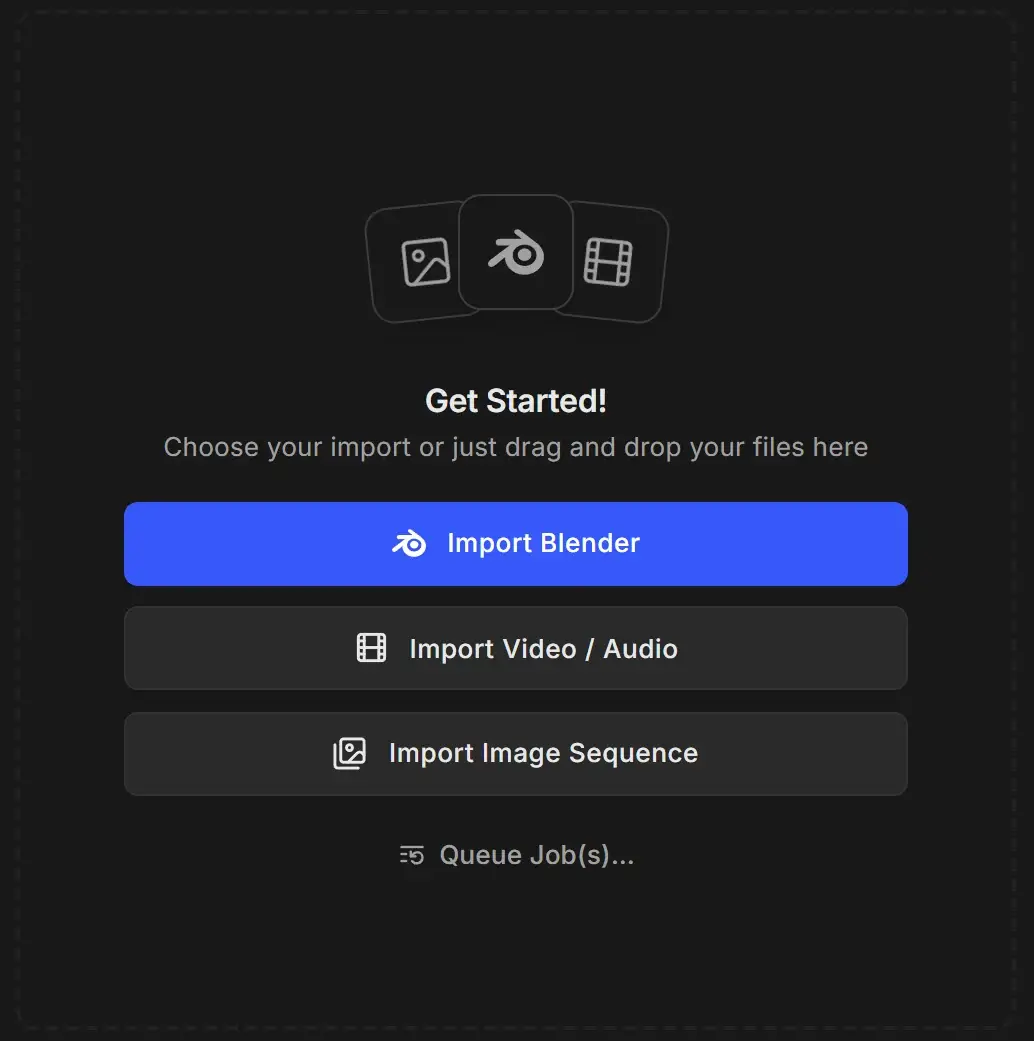
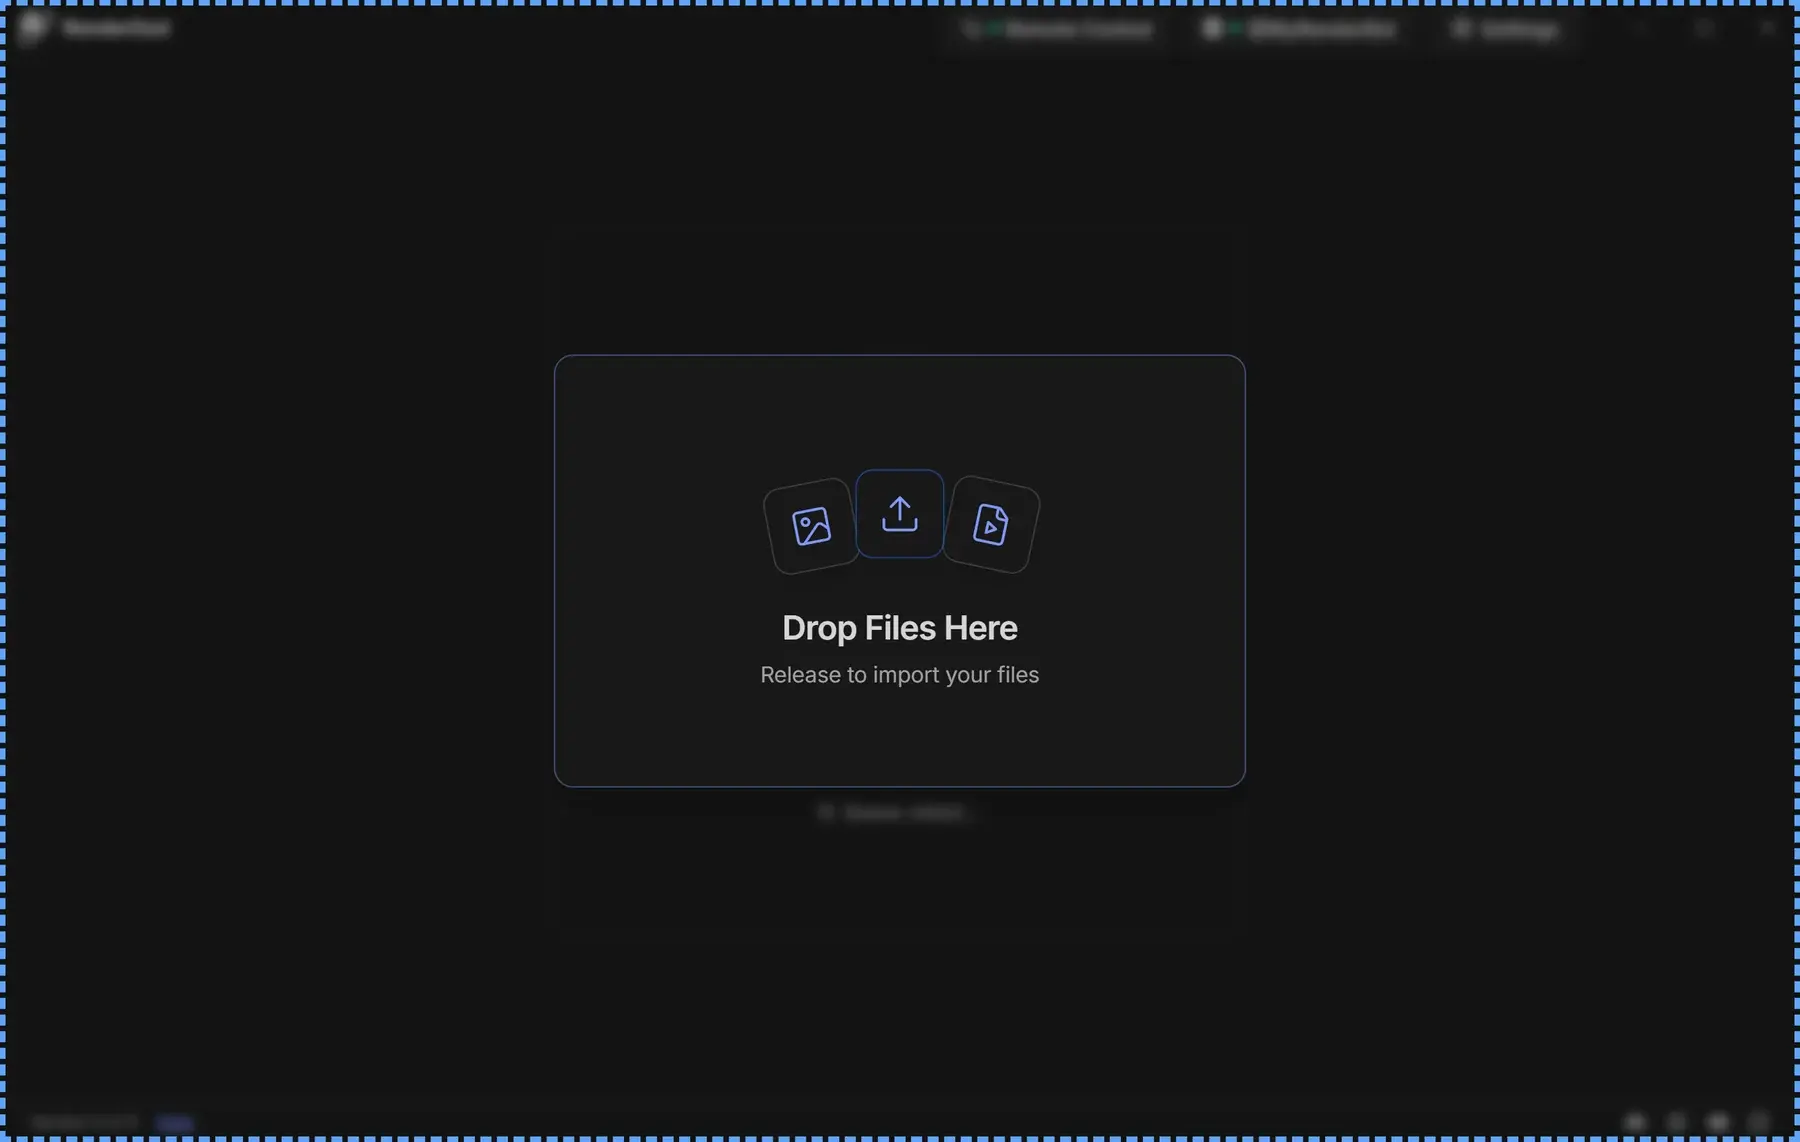
You can also drag .blend files from Explorer or Finder onto the window. A Drop Files Here overlay appears; release to import.
If RenderGod cannot find Blender on your computer, the Blender Version Manager opens. Click Auto Scan or Select Manually.
2. Check the render settings
Click the job card. Its render settings open on the left. Every value starts from what is saved in the .blend file, so often you do not need to change anything.
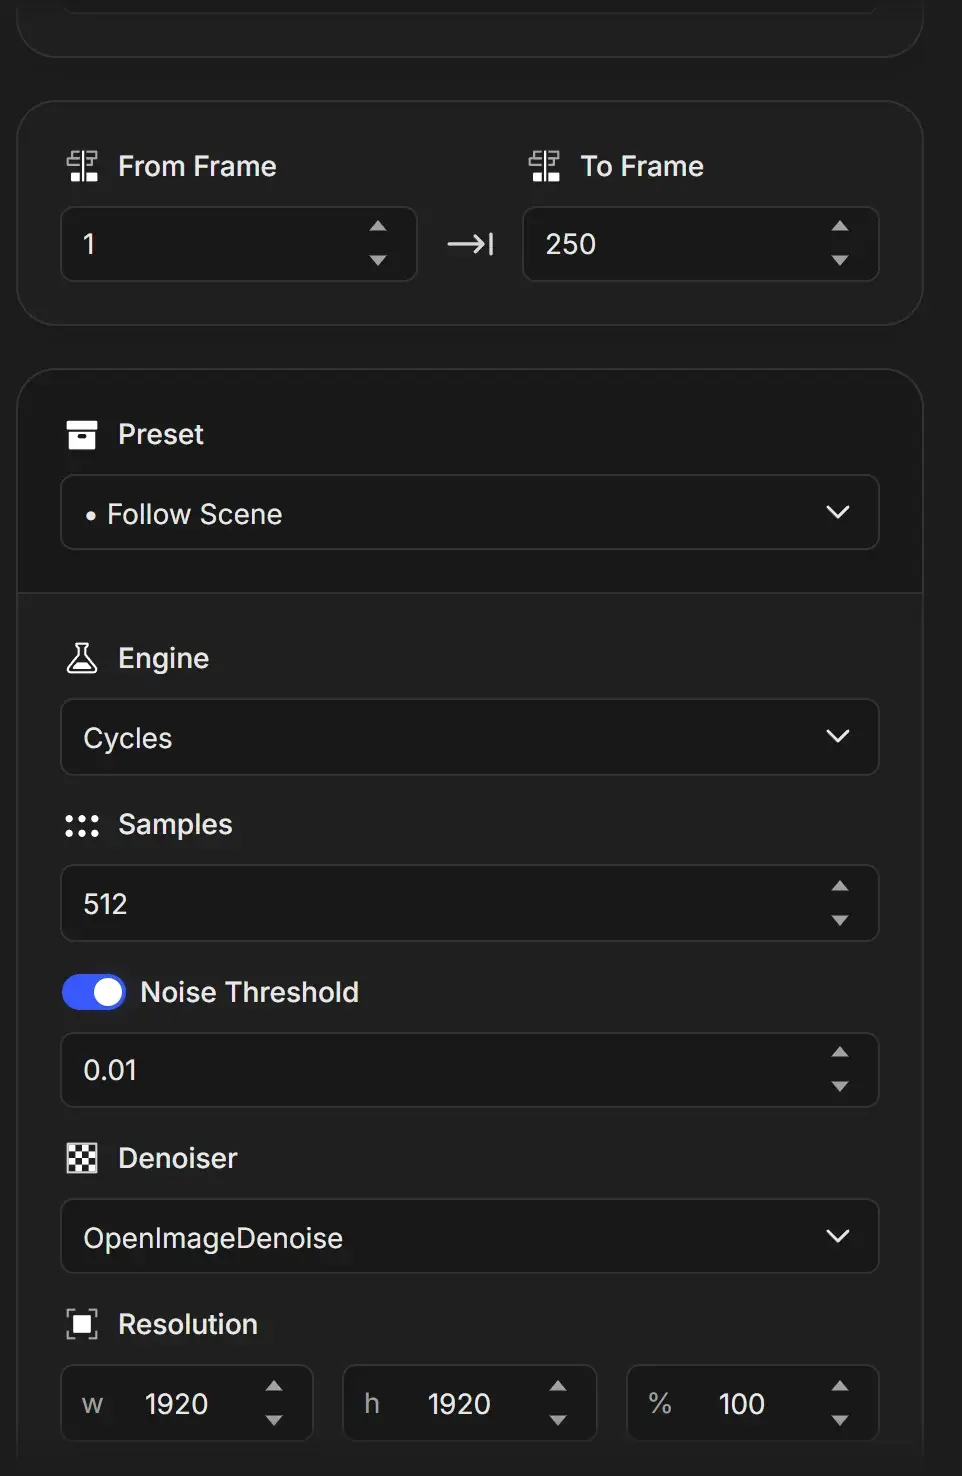
Check these settings before your first render:
| Setting | What to check | Learn more |
|---|---|---|
| Output | The path line shows where frames are saved. By default this is a RenderGod folder next to your .blend file, organized by scene, camera, view layer and date. | Choose where renders are saved |
| Camera | The camera you want to render from | Choose the camera |
| From Frame / To Frame | For a quick test, render a few frames first, for example 1 to 5 | Set the frame range |
| Engine and Samples | Cycles or EEVEE, and the quality level | Choose the render engine |
| Resolution and Format | Image size and file type, such as PNG or EXR | Output formats |
Changes save automatically and apply only to this job. Your .blend file is not modified.
3. Start the queue

Click Start in the queue toolbar. RenderGod launches Blender in the background and renders the first queued job. Start changes to Pause.
4. Watch the progress and live preview
The job card shows the render progress as it runs.
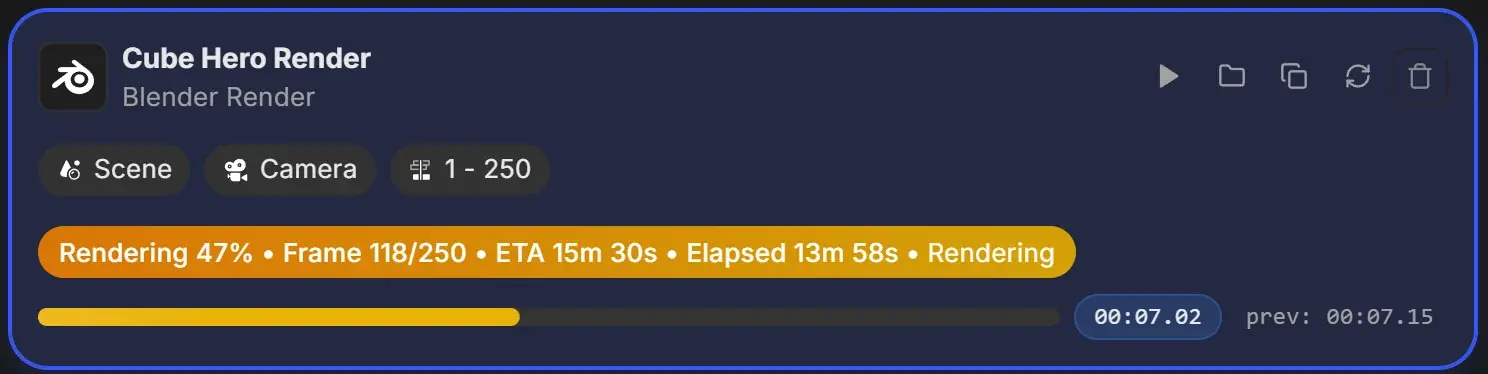
| On the card | Meaning |
|---|---|
| Rendering 47% | Share of the frame range completed |
| Frame 118/250 | The frame Blender is rendering now |
| ETA | Estimated time until the job finishes |
| Elapsed | Time since the job started |
| Frame timer and prev | Time spent on the current frame, and how long the previous frame took |
The settings panel shows a live preview of each frame as it finishes. While the job renders, its settings are locked; to change them, pause the queue or duplicate the job.
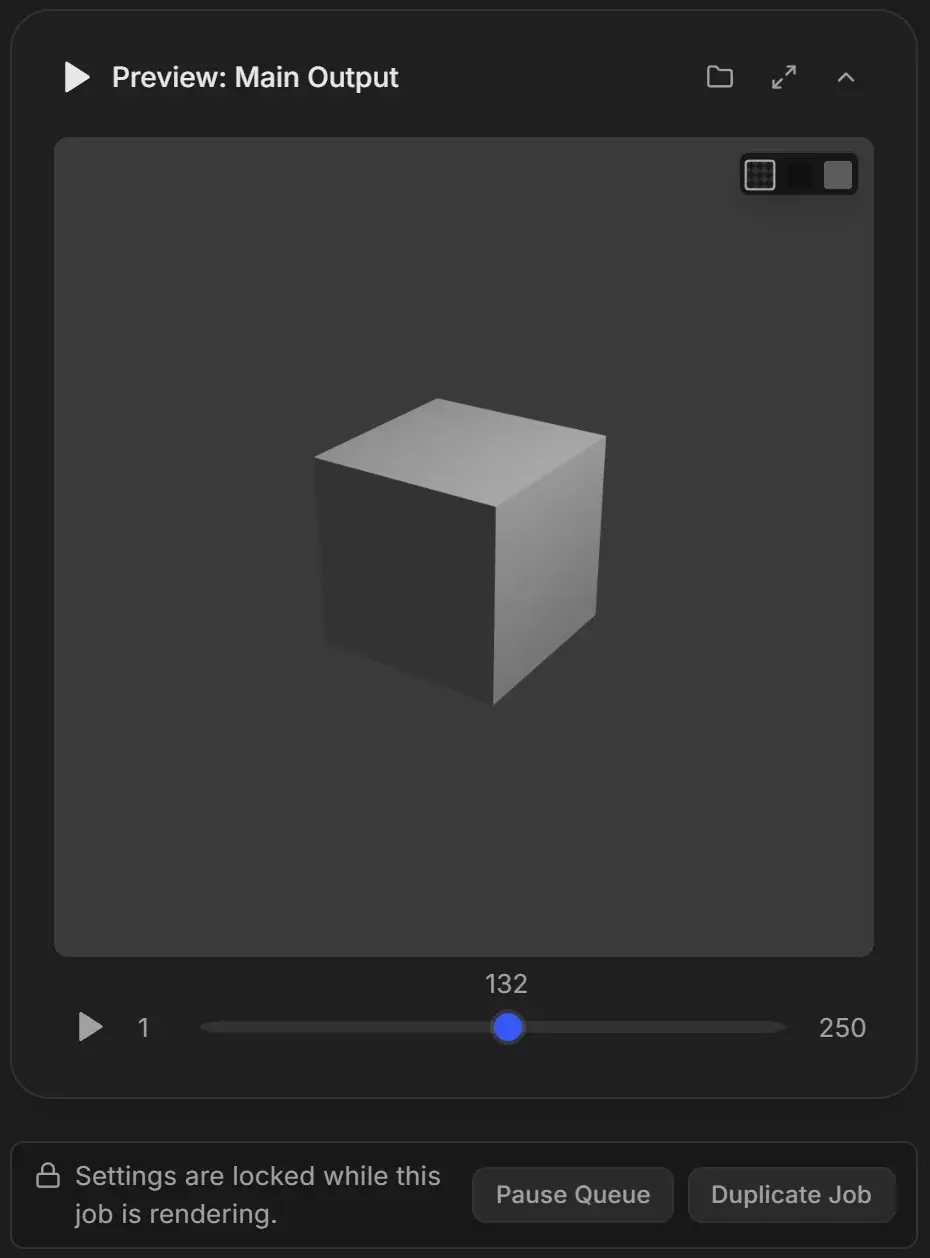
See Watch frames live while rendering and Progress, frame timer and time remaining.
You can hide the RenderGod window while it renders. You get a desktop notification when the queue finishes or a job fails.
5. Open your rendered frames
When the last frame is done, the card shows Done with the total render time, and a "Completed rendering" message appears.
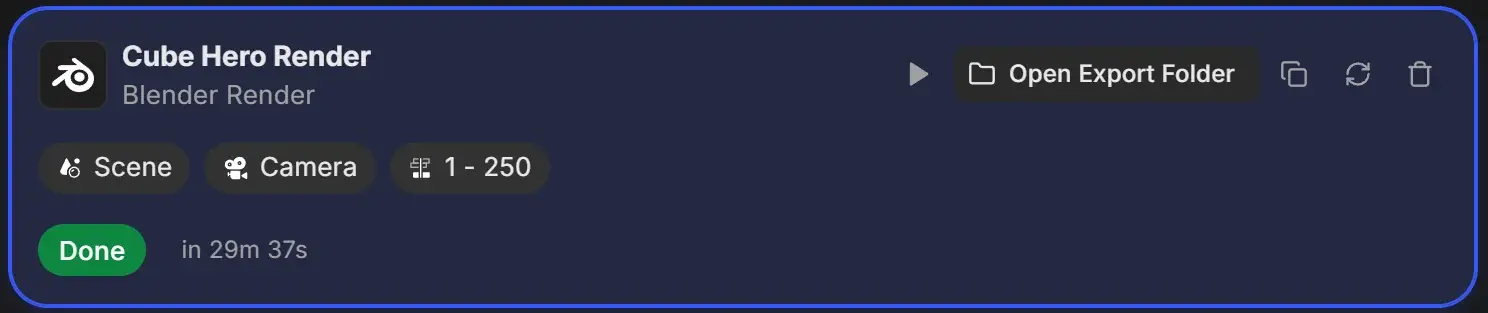
Click Open Export Folder on the card to open the folder with your frames in Explorer or Finder. You can also right-click the card and choose Open Export Folder.
Next steps
- Queue several files and render them overnight.
- Turn on Auto Create Video to get an MP4 when the frames are done.
- Set up UnCrash so a Blender crash does not stop the render.
- Shut down the PC when the queue finishes.