Find Your Blender Installations in RenderGod
Let RenderGod find every Blender version on your computer with Auto Scan or Deep Scan, or point it at Blender yourself, so render jobs can use them.
RenderGod renders with the Blender versions installed on your computer, so it needs to know where they are. Usually it finds your Blender installations by itself; this page shows how to scan again or add one yourself.
When RenderGod looks for Blender
- The first time you import a
.blendfile, RenderGod runs a quick scan in the background. - If it finds no Blender, the Blender Version Manager opens so you can point it at one.
- It also opens if you press Start with render jobs in the queue while no Blender version is set up.
Scan for Blender
Open Settings > Blender Version Manager.
Click Auto Scan. RenderGod searches the usual install locations and shows Done when it finishes.
Check the list under Detected Installations. Each row shows the Blender version and where it is installed, newest first.
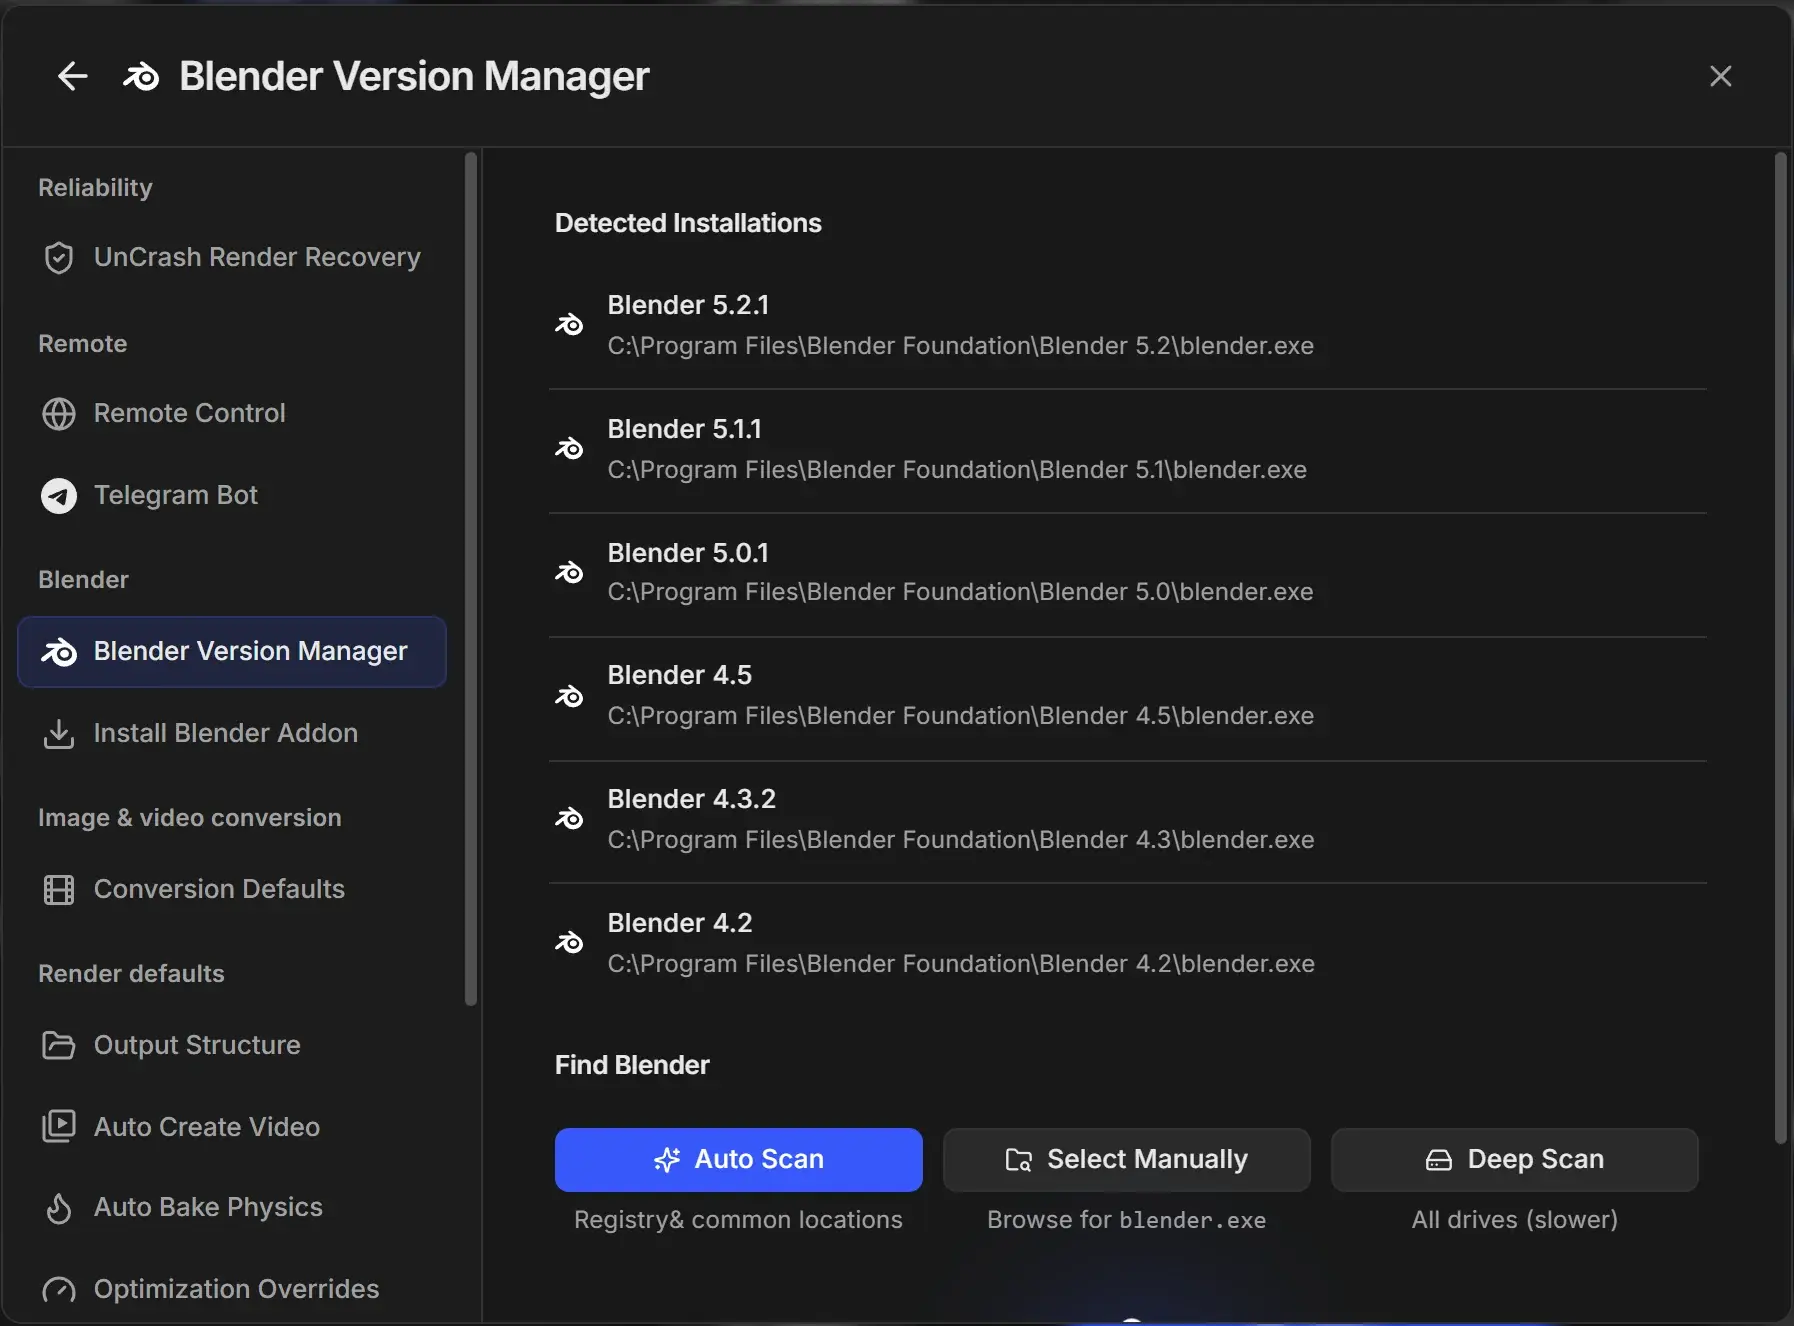
Ways to find Blender
| Button | What it does | When to use it |
|---|---|---|
| Auto Scan | Checks the Windows registry and common install folders (on macOS, Spotlight and common locations) | First choice, and after you install a new Blender version |
| Select Manually | Opens a file browser so you pick blender.exe (on macOS, Blender.app) | Blender is in an unusual folder, or a portable copy from a ZIP |
| Deep Scan | Searches every drive. Slower; click the red stop button to cancel | Auto Scan missed a copy and you do not know where it is. Windows only. |
If a scan fails, a message explains why. Nothing is removed from the list, and you can Try again or use Select Manually.
Choose which Blender renders a job
Every render job has a Blender Version card in its render settings. RenderGod picks the installation that matches the version the .blend file was saved with, marked (file detected), or the closest one you have. See Pick the Blender version for a job.