Blender Version Manager in RenderGod Settings
See every Blender installation RenderGod knows about and add more with Auto Scan, Select Manually or Deep Scan, on Windows and macOS.
The Blender Version Manager lists the Blender installations RenderGod can render with and lets you find more. Every installation listed here is available in a job's Blender version dropdown and when installing the add-on.
Open it from Settings > Blender Version Manager, or choose Manage Blender Versions in a job's Blender version dropdown.
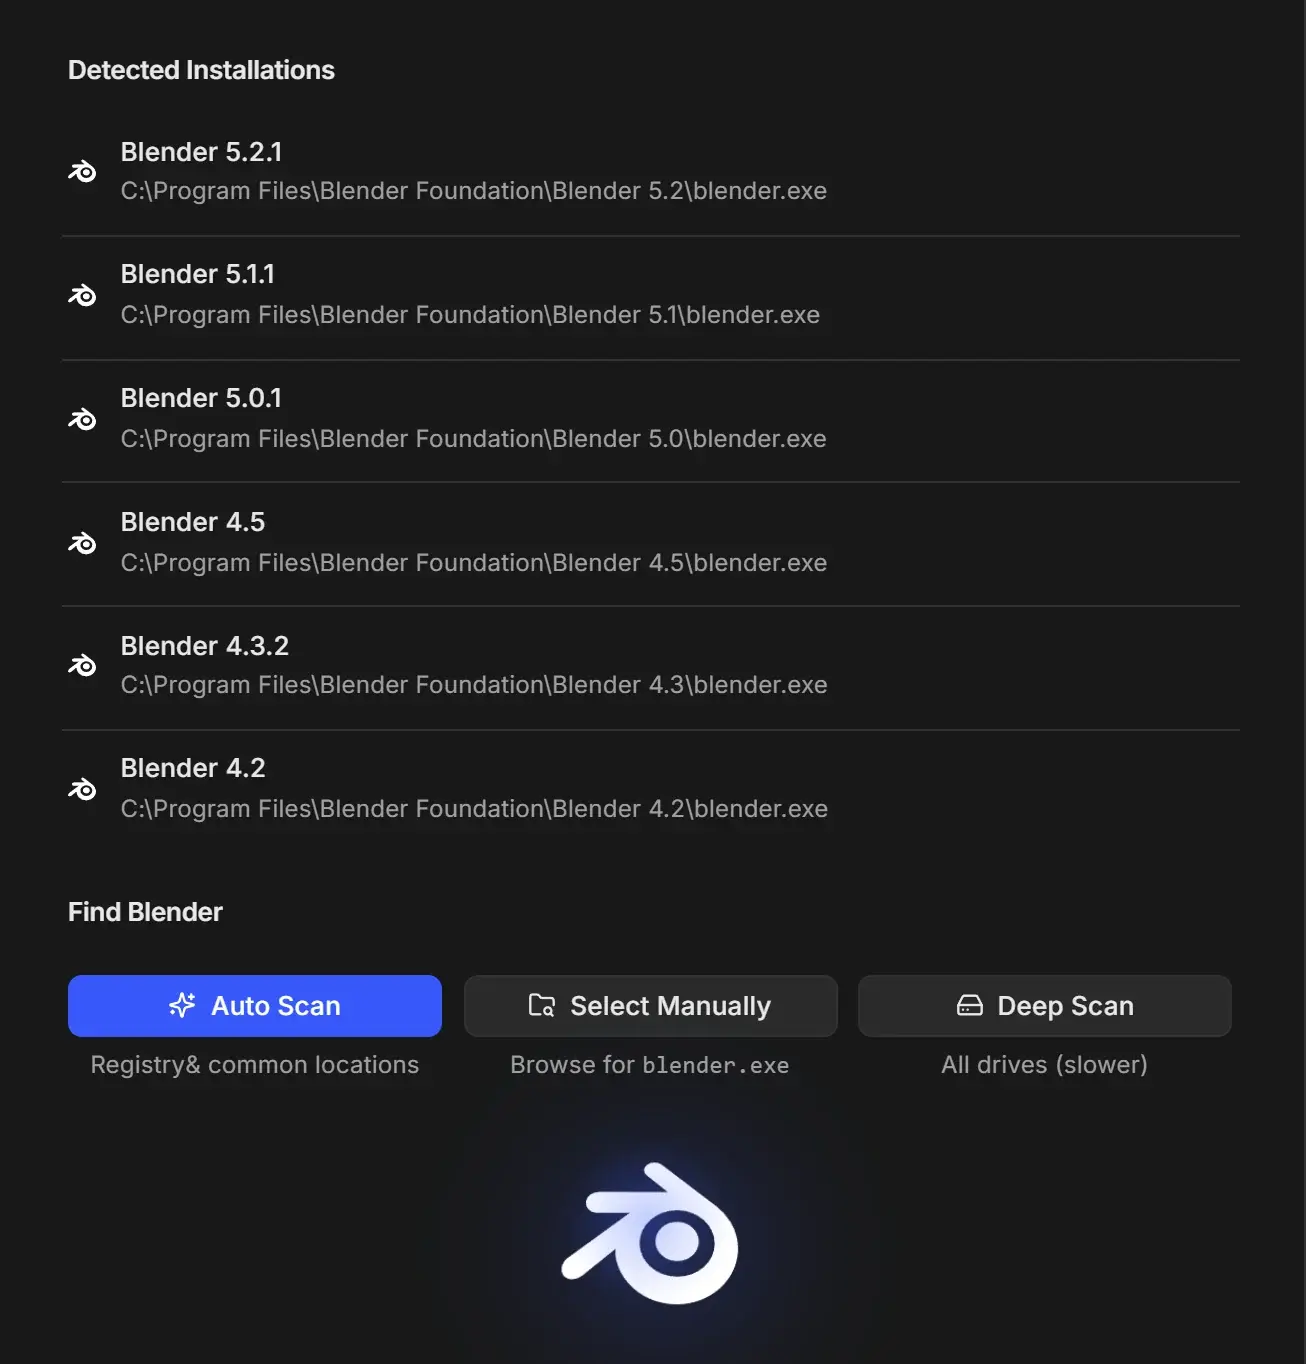
Detected Installations
Each row shows the Blender version and the full path to its program, newest version first. If nothing has been found yet you see "No Blender installations found. Use Auto Scan or Select Manually below."
There is no remove button in this list.
Find Blender
| Button | Searches | When to use it |
|---|---|---|
| Auto Scan | The Windows registry and common install locations ("Registry & common locations") | First choice. Fast and finds standard installs. |
| Select Manually | Opens a file picker so you can choose blender.exe yourself ("Browse for blender.exe") | Portable Blender, a build unzipped to a custom folder, or anything a scan missed |
| Deep Scan (Windows only) | Every drive on the computer ("All drives (slower)") | When Auto Scan misses installs on other drives. Click the red X to stop it. |
Auto Scan shows "Scanning..." and then "Done". After Select Manually RenderGod runs a quick scan so the new version appears in the list.
RenderGod accepts only a Blender program on a local drive. On Windows the file must be named blender.exe; network paths are not accepted.
On macOS
- Auto Scan searches with Spotlight and common locations.
- Select Manually asks for Blender.app instead of
blender.exe. - Deep Scan is not available.